- Published on
How to Use ThreeJS in React, NextJS, and TypeScript: A Beginner's Guide
TABLE OF CONTENTS
Introduction
As a developer, have you ever dreamt of creating interactive 3D experiences that engage and delight users? If you're looking to venture into the world of 3D graphics with Next.js and React Three Fiber, you’re in for an exciting journey! These powerful technologies empower you to build dynamic web applications that not only showcase stunning 3D visuals but also offer seamless customization options. In this beginner-friendly guide, we’ll explore how to set up a Next.js project and integrate React Three Fiber to create a 3D configurator for an Apple Watch. Users will be able to customize the watch’s strap and clasp with their own texture images, enhancing the interactive experience. Whether you're a newcomer to 3D development or an experienced coder wanting to dive into a new realm, this guide will simplify the process and equip you with the knowledge to create a captivating configurator. Let’s embark on this journey and discover how to bring your ideas to life with Next.js and React Three Fiber!
What is Next.js?
Next.js is a React-based framework that offers server-side rendering, static site generation, and many built-in optimizations for building high-performance web applications.
| Feature | Description |
|---|---|
| Hybrid Rendering with Three.js Integration | Next.js allows you to use server-side rendering (SSR) or static site generation (SSG) alongside Three.js for delivering optimized 3D content. You can render components initially on the server for faster page loads, while complex Three.js animations or models can be handled client-side, ensuring that 3D applications remain performant and SEO-friendly. |
| Dynamic Routing and API Endpoints for 3D Content | Using API routes in Next.js, you can manage dynamic content for 3D Specific 3D assets, textures, or models such as loading Configurations based on user interactions or queries. This enables Creating dynamic 3D visuals in Three.js that can respond to the user Input allows for customizable or interactive 3D experiences (eg. A 3D configurator or visualization tool). |
What is Three.js?
Three.js is a JavaScript 3D library that makes WebGL easier to use. It allows developers to create 3D graphics in a web browser without the need for extensive WebGL knowledge.
| Feature | Description |
|---|---|
| WebGL Abstraction: | Three.js provides a powerful abstraction over WebGL, making it much easier to create and render 3D graphics in the browser without directly working with low-level WebGL code. It simplifies tasks like creating 3D objects, handling lights, cameras, materials, and textures, allowing developers to focus on the creative aspects of 3D development rather than dealing with complex WebGL APIs. |
| Rich Ecosystem of Objects and Effects | Three.js provides a powerful abstraction over WebGL and makes a lot of sense And it's easy to create and render 3D graphics in the browser Works directly with low-level WebGL code. It simplifies tasks such as Create 3D objects, manipulate lights, cameras, materials, and more Textures allow developers to focus on the creative aspects of 3D complexity. |
Prerequisites
Before diving into this guide, you should have:
- Basic knowledge of Threejs and React
- Node.js and npm installed on your machine
Setting Up a Next.js Project
Let’s start by creating a Next.js app.
1. Install Next.js: Open your terminal and run the following commands:
npx create-next-app@latestDuring the setup process, you’ll be asked a few questions like:
- Would you like to use TypeScript?
- Would you like to use ESLint?
- Would you like to use Tailwind CSS?
- Follow the prompts by typing yes or no as shown in the image below:

Simply refer to the image above for guidance on how to answer each question.This process will create a new project
2. Start the development server by entering following commands:
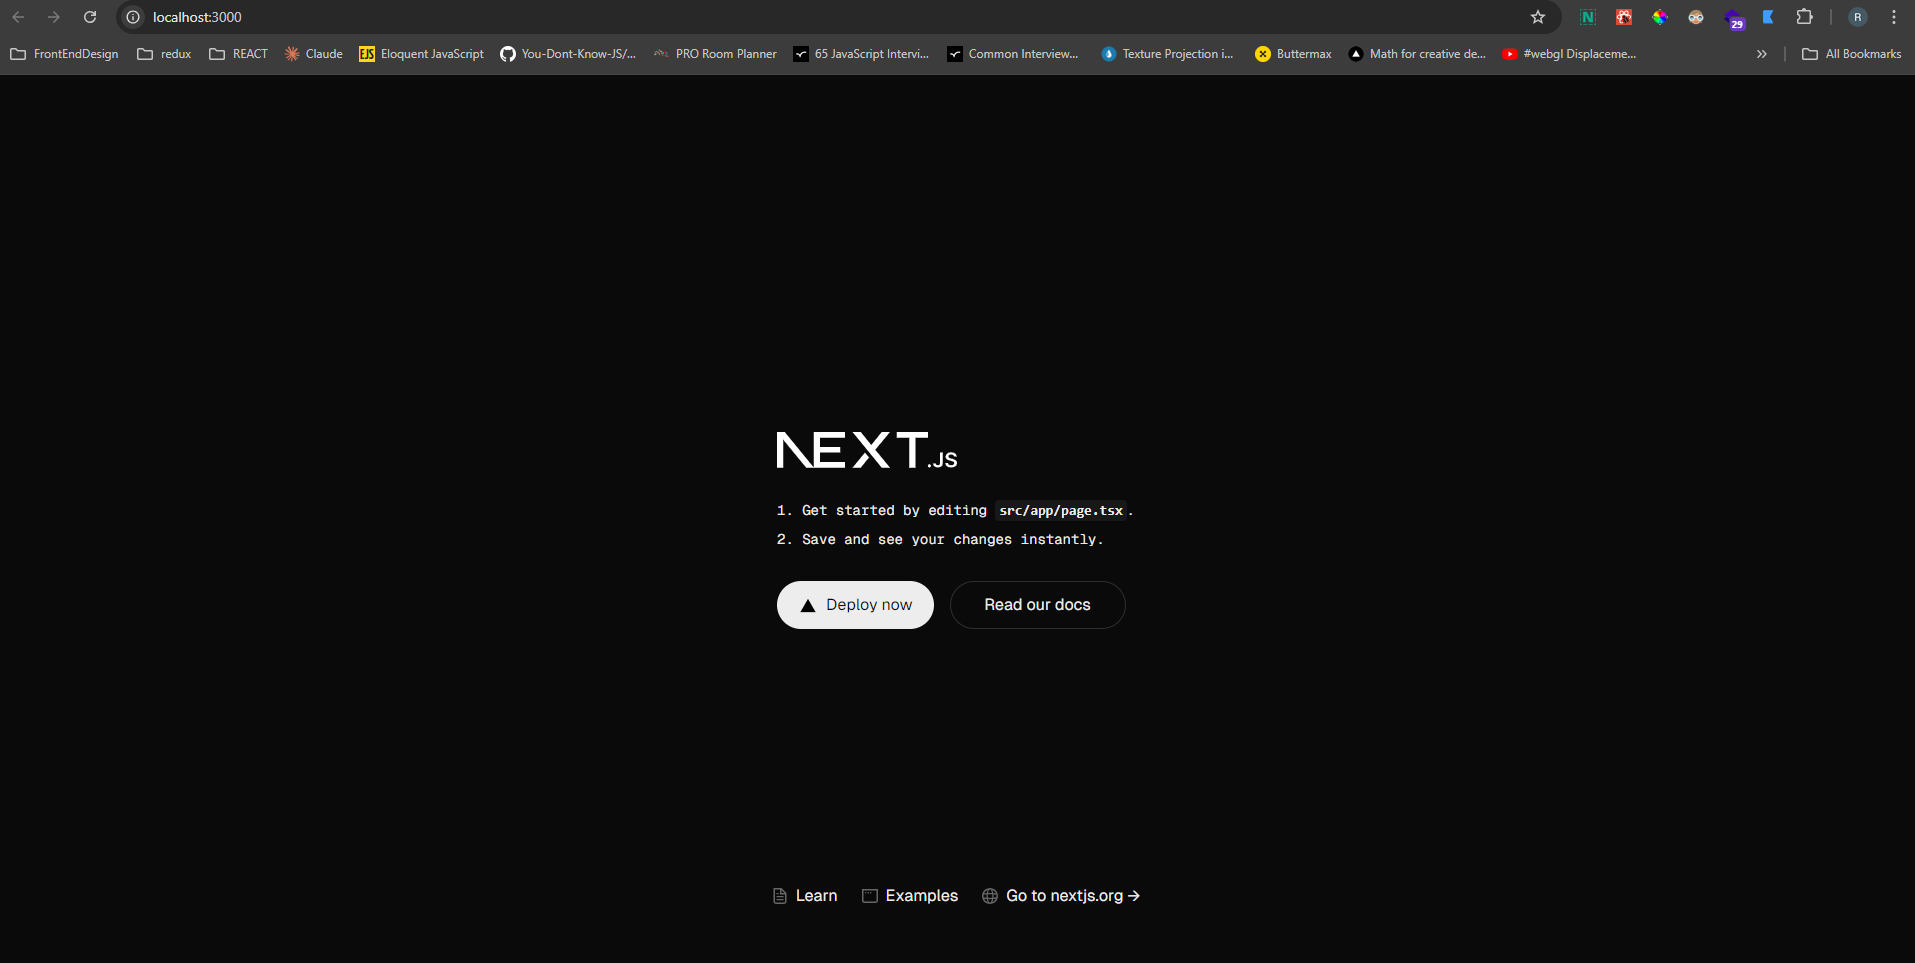
npm run devIf there are no errors, you can enter http://localhost:3000/ in your browser, and you will see the following screen:

Install Three.js
Now that we have a Next.js project ready, let’s install Three.js to start working with 3D graphics.
1. Install Three.js: In your project directory, run:
npm install --save threeThis will install Three.js and add it to your project dependencies.
Creating a simple 3D scene using Three.js
To render a 3D scene in your Next.js app, follow these steps:
1. Create a Three.js Component
Inside your src/app/ directory, create a new folder named components and add a file with the name ThreejsScene.tsx. Use the following tsx code:
"use client";
import React, { useEffect, useRef } from "react";
import * as THREE from "three";
/**
* A component that renders a simple Three.js scene
*/
const ThreeScene = () => {
/**
* A reference to the canvas element that will be used to render the scene
*/
const canvasRef = (useRef < HTMLCanvasElement) | (null > null);
/**
* A reference to the scene
*/
const sceneRef = (useRef < THREE.Scene) | (null > null);
/**
* A reference to the WebGL renderer
*/
const rendererRef = (useRef < THREE.WebGLRenderer) | (null > null);
/**
* A reference to the camera
*/
const cameraRef = (useRef < THREE.PerspectiveCamera) | (null > null);
/**
* An effect that initializes the scene, camera, and renderer on mount
* and cleans up on unmount
*/
useEffect(() => {
if (!canvasRef.current) {
console.error("Canvas ref is null");
return;
}
// Initialize scene, camera, and renderer
const scene = new THREE.Scene();
sceneRef.current = scene;
const camera = new THREE.PerspectiveCamera(
75,
window.innerWidth / window.innerHeight,
0.1,
1000
);
camera.position.z = 5;
cameraRef.current = camera;
const renderer = new THREE.WebGLRenderer({ canvas: canvasRef.current });
renderer.setSize(window.innerWidth, window.innerHeight);
rendererRef.current = renderer;
// Add a simple cube
const geometry = new THREE.BoxGeometry();
const material = new THREE.MeshBasicMaterial({ color: 0x00ff00 });
const cube = new THREE.Mesh(geometry, material);
scene.add(cube);
// Animation loop
const animate = () => {
requestAnimationFrame(animate);
cube.rotation.x += 0.01;
cube.rotation.y += 0.01;
renderer.render(scene, camera);
};
animate();
// Clean up on component unmount
return () => {
renderer.dispose();
scene.clear();
};
}, []);
return <canvas ref={canvasRef} />;
};
export default ThreeScene;Explanation:
-
References: We use useRef to create references for the canvas, scene, camera, and renderer, allowing us to access and manipulate them throughout the component lifecycle.
-
useEffect Hook: This hook initializes the Three.js scene and handles the animation loop. The cleanup function disposes of the renderer and clears the scene when the component unmounts.
-
Canvas Element: We return a canvas element where the Three.js scene will be rendered.
2. Integrate the Three.js Canvas Component:
Next step is to integrate the threejs canvas component in the src/page.tsx .Open src/page.tsx and modify it to include the ThreeScene component:
Open src/page.tsx and modify it to include the ThreejsScene component:
import ThreejsScene from "./components/ThreejsScene";
export default function Home() {
return (
<div className="w-full h-screen">
<h1 className="mx-auto text-2xl text-center">
Next js and Three js 3d scene
</h1>
<ThreejsScene />
</div>
);
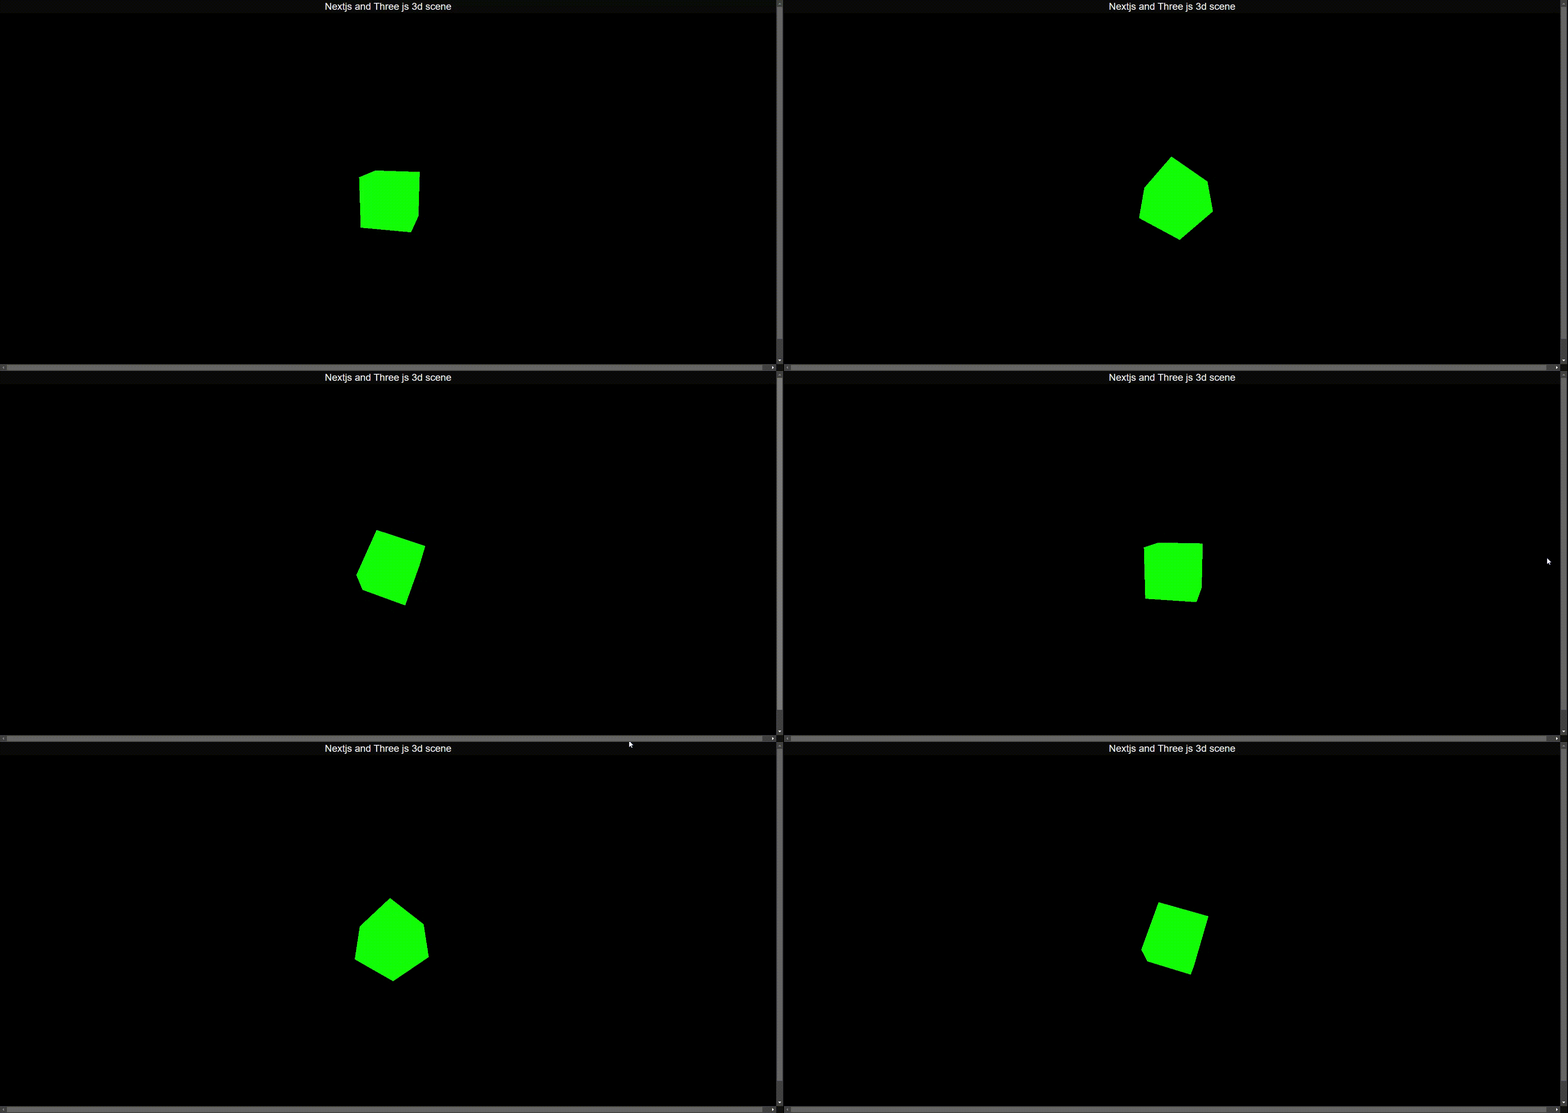
}If there are no errors in terminal, you can refresh http://localhost:3000/ in your browser, and you will see the following screen:

Exploring Further
This guide sets up a basic integration between Next.js and Three.js. You can take this further by exploring more advanced topics like:
- Adding lighting and shadows
- Loading 3D models (GLTF, OBJ)
- Responding to user input (mouse, keyboard)
- Integrating shaders for advanced visual effects
Conclusion
Thank you for reading! To further explore the code and concepts discussed in this guide, visit my GitHub repository:
Combining Next.js and Three.js allows you to build visually stunning, interactive web applications with ease. By leveraging the strengths of both tools—server-side rendering and static generation from Next.js, and powerful 3D rendering from Three.js—you can create unique web experiences.
With the basics covered, you are now ready to explore more complex 3D scenes and interactions. Happy coding!
Additional Resources
For more examples and inspiration, check out the following links:
These resources will help you explore more advanced features and use cases for both frameworks.
If you found this guide helpful and want to learn more about Next.js, Three.js, or other web development topics, stay tuned for more tutorials on this blog!