- Published on
How to Create a 3D Tesla Car Configurator with React, Next.js, Three.js and TypeScript - Part 1
TABLE OF CONTENTS

Introduction
As a developer, have you ever dreamt of creating interactive 3D experiences that captivate and engage users? If you're looking to build a 3D Tesla car configurator with Next.js and React Three Fiber (Three js react library), you’re in for an exciting journey! These powerful technologies empower developers to build dynamic web applications that not only showcase stunning 3D graphics but also offer interactive customization options.
In this beginner-friendly guide, we’ll walk you through how to set up a Next.js project and integrate React Three Fiber to create a 3D Tesla car configurator (It will help you to understand how 3d car configurator development with three js). Users will be able to customize car body parts and colors, providing a seamless and interactive experience. Whether you're new to 3D web development or an experienced coder looking to explore a new domain, this guide will simplify the process and equip you with the knowledge to build an engaging car configurator.
Let’s embark on this exciting journey and bring your ideas to life with Next.js and React Three Fiber!
Why Use React and Next.js for 3D Configurators?
When it comes to building 3D car configurators, React and Next.js provide a solid foundation for both performance and scalability. Using React Three Fiber and Three.js allows you to create interactive 3D experiences directly within the browser, providing users with dynamic customization options.
Benefits:
- Seamless 3D rendering using React components
- Performance optimizations with Next.js SSR (Server-Side Rendering)
- Easy integration with Three.js for complex 3D models
Prerequisites
Before we start, ensure you have the following:
- Basic knowledge of JavaScript, React and Three Js.
- Node.js installed on your machine.
- A code editor (e.g., VSCode).
Setting Up Next.js for 3D Development
First, let's create a new Next.js application.
npx create-next-app@latestDuring the setup process, you’ll be asked a few questions like:
- Would you like to use TypeScript?
- Would you like to use ESLint?
- Would you like to use Tailwind CSS?
- Follow the prompts by typing yes or no as shown in the image below:

Simply refer to the image above for guidance on how to answer each question.This process will create a new project
3d-configurator
install React Three Fiber npm package
npm install @react-three/fiber @react-three/drei threeWhat is React Three Fiber?
React Three Fiber is a powerful React renderer for Three.js, allowing developers to build 3D experiences in a more declarative way. It leverages React's component-based architecture to manage 3D objects as React components, making it easier to integrate 3D graphics into your web applications. With React Three Fiber, you can utilize the full power of Three.js while benefiting from React's state management and lifecycle methods.
React Three Drei is a library of helpful components and hooks for React Three Fiber that simplifies common tasks in 3D development, making it easier to create complex scenes with less boilerplate code.
Click here for more information about React Three Fiber
Click here for more information about React Three Drei
Why Use React Three Fiber Instead of Directly Using Three.js?
-
Declarative Syntax: React Three Fiber allows you to write your 3D scenes in a declarative manner, similar to how you create UI components in React. This means you can manage 3D objects as React components, simplifying the workflow.
-
Component Reusability: With React Three Fiber, you can create reusable 3D components, making it easier to build complex scenes and maintain your codebase.
-
Compatibility with React Ecosystem: Since it is built on React, you can use hooks, context, and other React features to enhance your 3D applications.
Create a Car Component
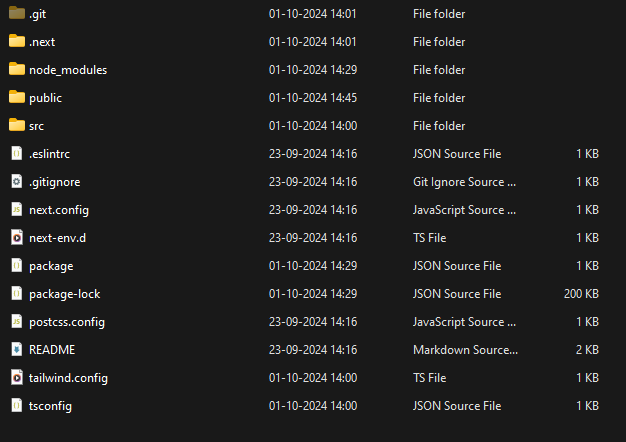
You can download the 3d car model i have used from the git repository and save it in the public folder of your project (Create a public folder in the next js root directory). You can load the model using the useLoader hook provided by React Three Fiber.

Create Car.tsx file inside src/app/components folder and paste the below code
import { useGLTF } from "@react-three/drei";
import React from "react";
const Car = () => {
const { scene } = useGLTF("car.glb");
return (
<primitive
scale={1.6}
rotation={[0, Math.PI / 5, 0]}
castShadow
receiveShadow
object={scene}
/>
);
};
export default Car;Code Explanation: Loading a 3D Car Model with React Three Fiber
In this snippets we are using react three fiber drei useGLTF hook to load the 3d model from public folder
- The return statement renders a
<primitive>component, which is used to represent the loaded 3D object in the scene. - We set the scale property to 1.6, which adjusts the size of the car model. You can modify this value to make the model larger or smaller as needed.
- The rotation property is an array that specifies the rotation of the model in radians. In this case, it rotates the model around the Y-axis by Math.PI / 5 radians (approximately 36 degrees).
- The castShadow and receiveShadow props enable shadow casting and receiving, respectively, enhancing the visual realism of the scene.
Create a Ground Component
Create Ground.tsx file inside src/app/components folder and paste the below code. You need to download ground texture maps from the repository and place it in the public/texture folder
import { TextureLoader } from "three";
import { useLoader } from "@react-three/fiber";
export function Ground() {
const [colorMap, displacementMap, normalMap, roughnessMap, aoMap] = useLoader(
TextureLoader,
[
"texture/Concrete_Blocks_012_basecolor.jpg",
"texture/Concrete_Blocks_012_height.png",
"texture/Concrete_Blocks_012_normal.jpg",
"texture/Concrete_Blocks_012_roughness.jpg",
"texture/Concrete_Blocks_012_ambientOcclusion.jpg",
]
);
return (
<mesh
position={[0, 0.4, 0]}
rotation={[Math.PI / 2, 0, 0]}
scale={[1, 1, 1]}
receiveShadow={true}
>
<planeGeometry args={[50, 50, 100, 1]} />
<meshStandardMaterial
side={2}
map={colorMap}
displacementMap={displacementMap}
normalMap={normalMap}
roughnessMap={roughnessMap}
aoMap={aoMap}
/>
</mesh>
);
}Code Explanation: Creating a ground component for placing car model for realistic feel
-
We are using
useLoaderhook"@react-three/fiber"for loading the texture maps for the plane mesh ground. The useLoader hook is used to load multiple textures at once. It takes TextureLoader as the first argument and an array of texture file paths as the second argument. -
Each texture serves a different purpose:
- colorMap: The base color of the ground.
- displacementMap: Used to create height variations on the surface.
- normalMap: Provides surface details and enhances the appearance of depth.
- roughnessMap: Determines the surface's roughness, affecting how light interacts with it.
- aoMap: Ambient occlusion map, which adds shading to crevices and enhances realism.
if you wanted to learn more about the texture maps there is youtube video i found useful
-
Finally we create 3d mesh using
"@react-three/fiber"mesh , planeGeometry and meshStandardMaterial default components.This Ground component creates a textured ground plane in the 3D scene using multiple texture maps for a more realistic appearance. By leveraging the power of React Three Fiber and Three.js, you can easily add detailed environments to your 3D applications.
Build a CanvasRender Component
Create CanvasRender.tsx file inside src/app/components folder and paste the below code.Add the Ground and Car component to the CanvasRender component.
"use client";
import React, { Suspense } from "react";
import { Canvas } from "@react-three/fiber";
import Car from "./Car";
import { Environment, OrbitControls } from "@react-three/drei";
import { Ground } from "./Ground";
const CanvasRender = (): JSX.Element => {
return (
<div className="w-full h-full">
<Canvas camera={{ fov: 75, position: [0, 5, 5] }}>
<ambientLight intensity={1} />
<OrbitControls
enableZoom={true}
enablePan={false}
minPolarAngle={0}
maxPolarAngle={Math.PI / 2.25}
makeDefault
/>
<Suspense fallback={null}>
<Environment
resolution={256}
background={true}
blur={10}
files="piazza_san_marco_1k.hdr"
></Environment>
<Car />
<Ground />
</Suspense>
</Canvas>
</div>
);
};
export default CanvasRender;Code Explanation: Rendering a 3D Car Scene with Ground and Environment
-
We are adding previously created
<Car />and<Ground />component into"@react-three/fiber"<Canvas>. We define a camera with a field of view (fov) of 75 degrees and position it at [0, 5, 5] to view the scene from above and at an angle. You can adjust the position and fov for better view. -
The
<ambientLight />provides a soft light that uniformly illuminates the entire scene, ensuring that no parts of the model appear too dark. -
The
<OrbitControls />allows the user to interact with the camera by rotating and zooming in on the model. We’ve configured it to enable zoom but restrict panning, ensuring the user remains focused on the model. The minPolarAngle and maxPolarAngle ensure that the user can only rotate the view between certain vertical angles. -
<Environment />component from@react-three/dreisimulates realistic lighting by providing an HDR (high dynamic range) image as the lighting source. This enhances the look of the 3D model by reflecting the environment around it. Using an environment map can be less computationally expensive compared to multiple light sources, especially when trying to achieve complex reflections or global illumination effects. This can improve performance in web applications. -
Since the textures and models are loaded asynchronously, it’s essential to use react
Suspensecomponent to manage the loading state.
Adding the CanvasRender Component
Add CanvasRender.tsx file to src/app/page.tsx
import CanvasRender from "./components/CanvasRender";
export default function Home() {
return (
<div className="flex h-screen flex-col items-center justify-between p-24">
<CanvasRender />
</div>
);
}Finally we add CanvasRender component to page render 3d car environment in next js.
Start the development server by entering following commands:
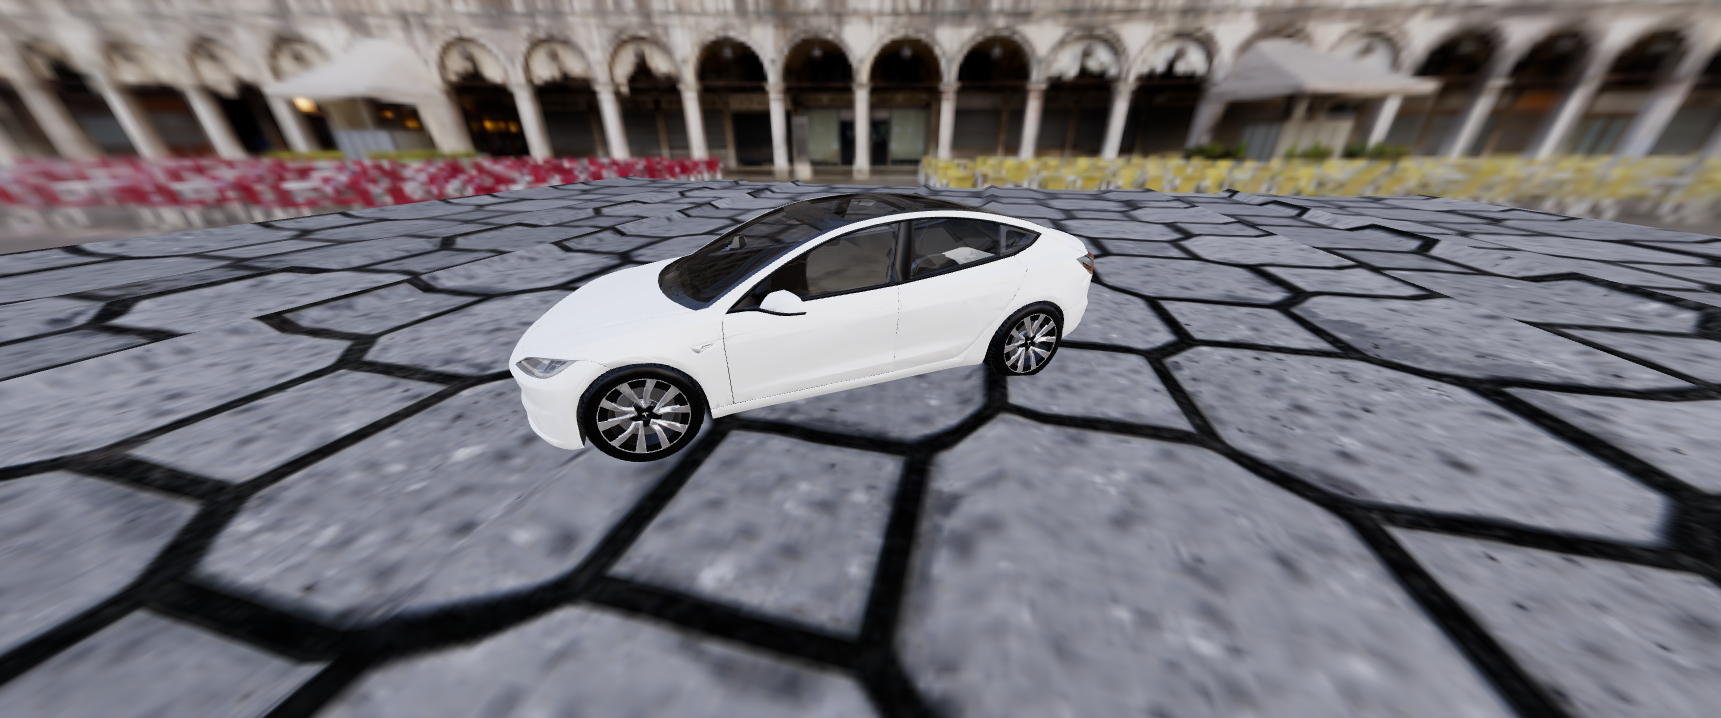
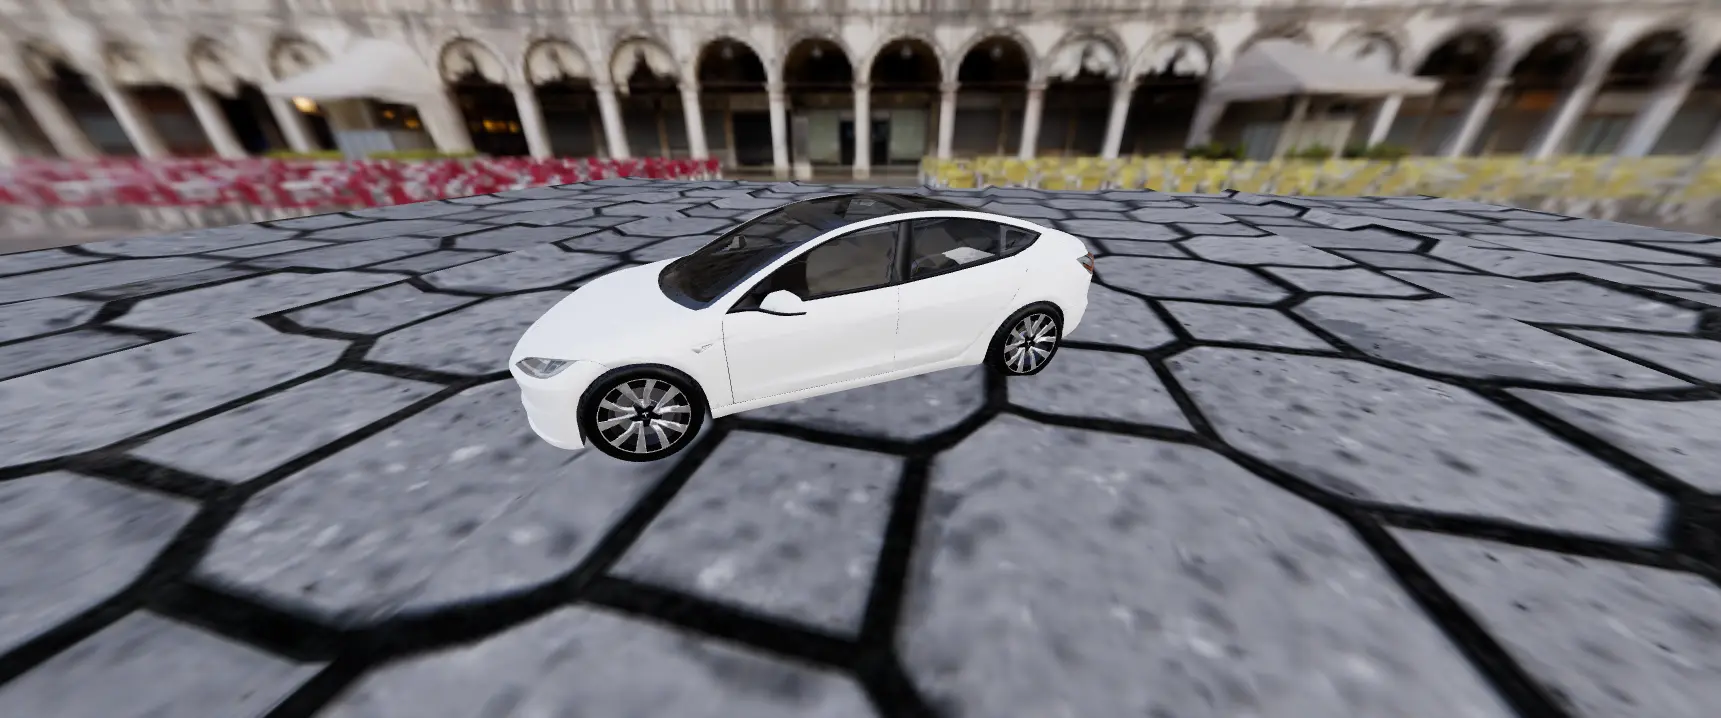
npm run devIf there are no errors, you can enter http://localhost:3000/ in your browser, and you will see the following screen:

Conclusion
Thank you for reading! In the next post, we will create dynamic features for a car configurator, such as changing the color of the car model and its parts.
To further explore the code and concepts discussed in this guide, visit my GitHub repository:
You can find the link of three js car configurator part 2 here:
Combining Next.js, TypeScript and Three.js allows you to build visually stunning, interactive web applications with ease. By leveraging the strengths of both tools—server-side rendering and static generation from Next.js, and powerful 3D rendering from Three.js—you can create unique web experiences. With the basics covered, you are now ready to explore more complex 3D scenes and interactions. Happy coding!